
🚗💨 Building a WiFi-Controlled Car with ESP32 💡🔧
I'm thrilled to share my recent project where I created a WiFi-controlled car using an ESP32 microcontroller, L298N motor driver, 4-wheel car chassis, and a Li-ion battery. 🚙✨
🔥 Video Link : Video Link
🔥 LinkedIn Post Link : Click to Visit LinkedIn Post
Table of Contents
- Table of Contents
- Introduction
- Components
- Assembly
- Programming the ESP32
- Learning Process
- Challenges and Solutions
- Project Highlights
- Images
- Video
Introduction
This project involves creating a WiFi-controlled car using an ESP32 microcontroller, L298N motor driver, 4-wheel car chassis, and a Li-ion battery. The car can be controlled wirelessly via a web interface using WebSockets.
Components
- ESP32 Microcontroller
- L298N Motor Driver
- 4-Wheel Car Chassis
- Li-ion Battery
- Jumper Wires
- Breadboard (optional)
- USB Cable for Programming
- Computer with Arduino IDE
Assembly
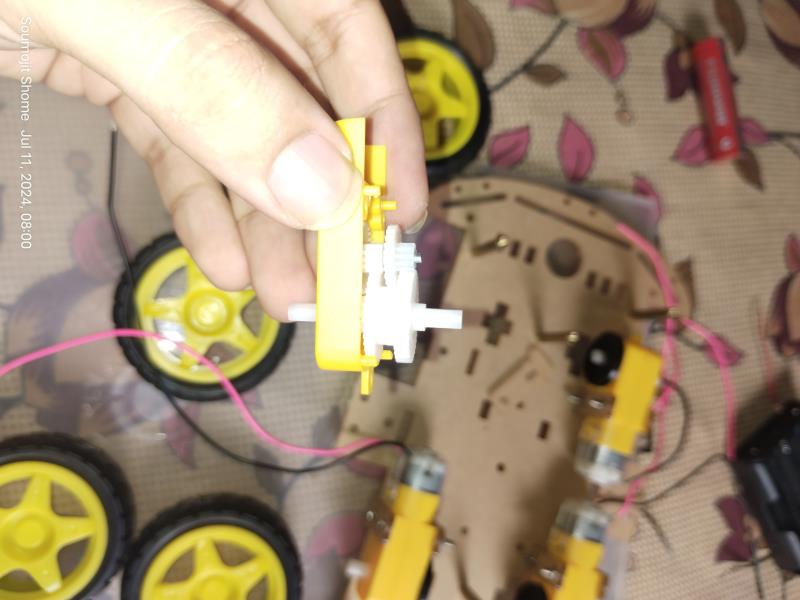
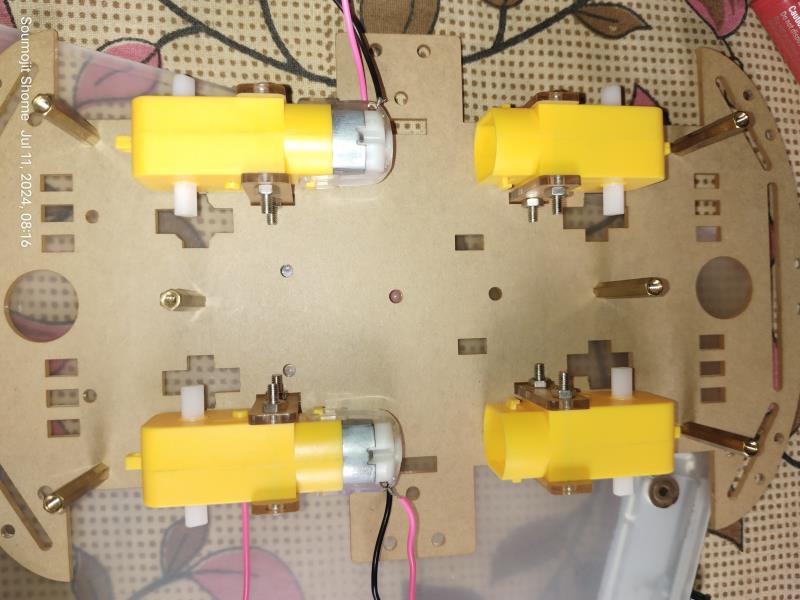
Car Chassis Setup : Assemble the 4-wheel car chassis as per the manufacturer's instructions. Attach the motors to the chassis.
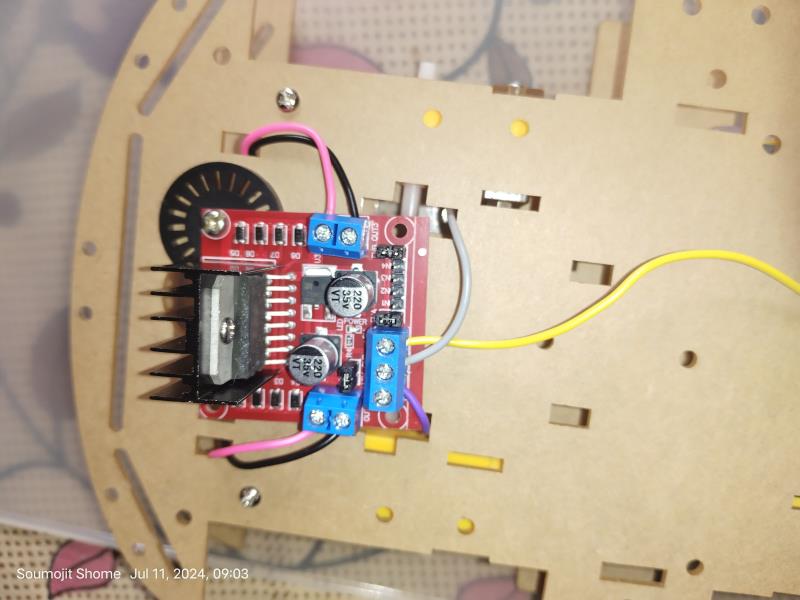
Connecting the Motor Driver : Connect the motors to the L298N motor driver.
- Connect motor A to the OUT1 and OUT2 terminals.
- Connect motor B to the OUT3 and OUT4 terminals.
Connecting ESP32 to Motor Driver :
- IN1 -> GPIO 2
- IN2 -> GPIO 4
- IN3 -> GPIO 16
- IN4 -> GPIO 17
- ENA -> not connected
- ENB -> not connected
Power Connections :
- Connect the ESP32's VIN to the 5V output of the L298N.
- Connect the GNDs together.
Programming the ESP32
Setting Up the Environment
- Install Arduino IDE
- ESP32 Board Setup
- Library Installation
Learning Process
- ESP32: Understanding its capabilities and how to program it.
- L298N Motor Driver: Learning its functionalities and how to control it.
- Arduino Basics: Refreshing my knowledge and applying it in this project.
- WebSocket: Integrating WebSocket for real-time communication.
Challenges and Solutions
Programming ESP32 with WebSocket :
- Challenge : Integrating WebSocket for real-time control.
- Solution : Used
WebSocketsServerlibrary to establish communication and control signals.
Car Chassis Setup :
- Challenge : Properly assembling the car chassis and connecting all components.
- Solution : Followed detailed assembly guides and ensured secure connections.
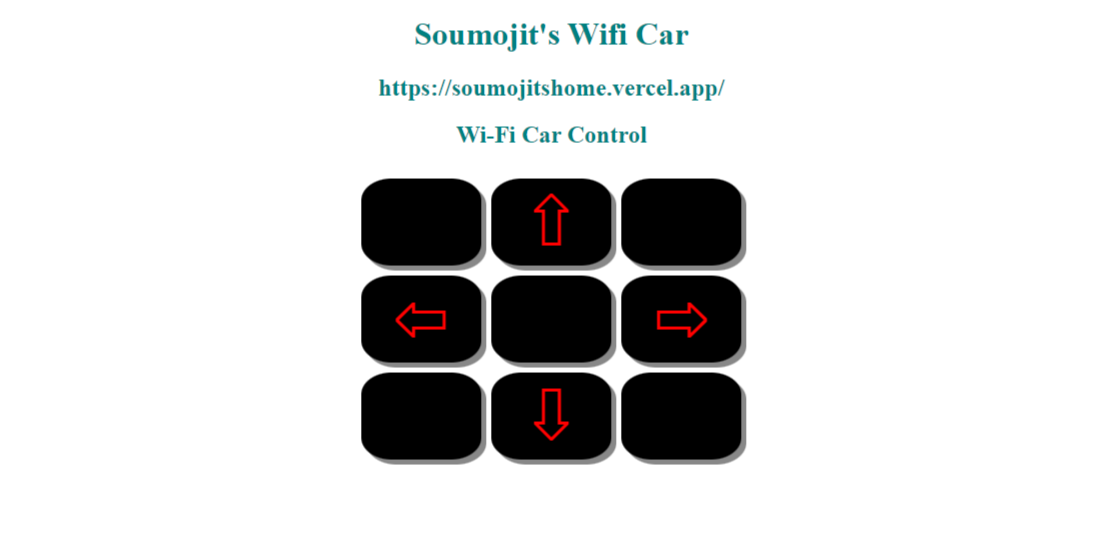
Control Page Design :
- Challenge : Creating an intuitive web interface for car control.
- Solution : Designed a simple HTML/CSS interface with JavaScript for WebSocket communication.
Project Highlights
- Real-time control via WebSocket.
- Smooth motor control with PWM signals.
- A user-friendly web interface for controlling the car.
Feel free to reach out if you have any questions or are working on similar projects. Let's connect and share our experiences! 🚀
Images
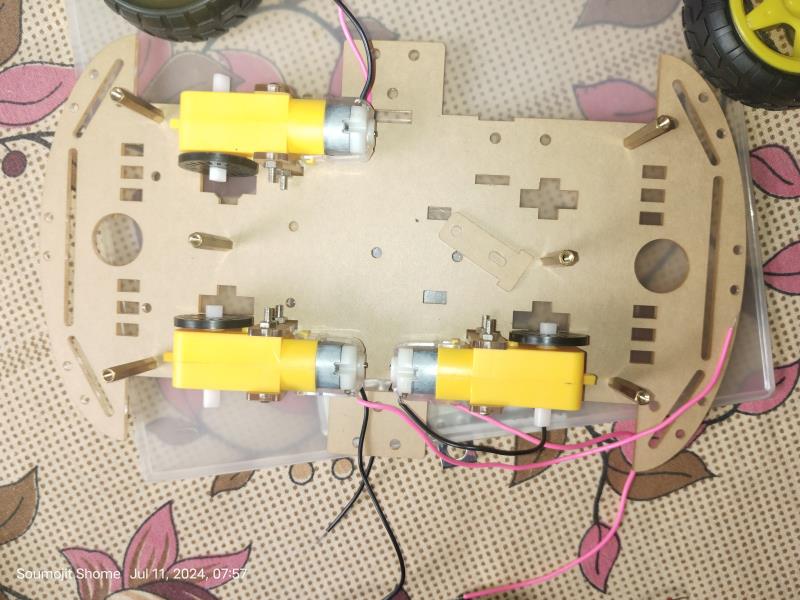
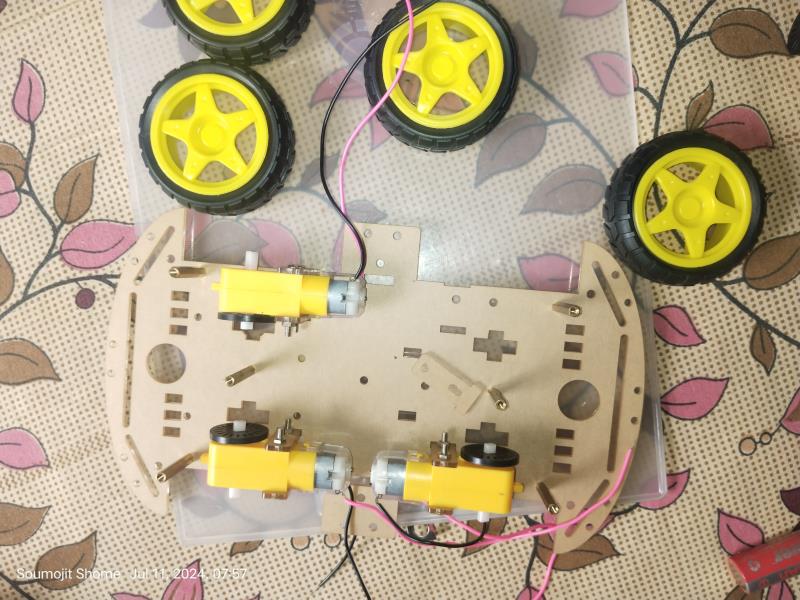
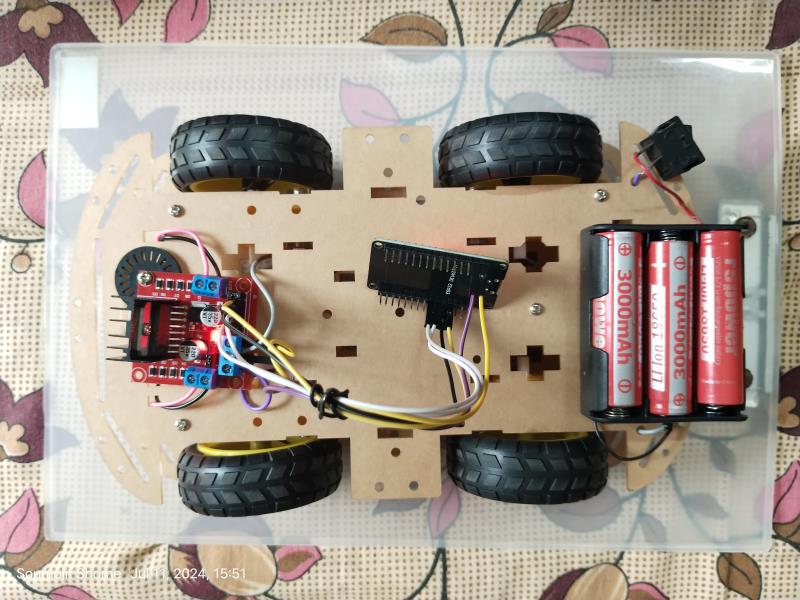
Car Chassis Setup
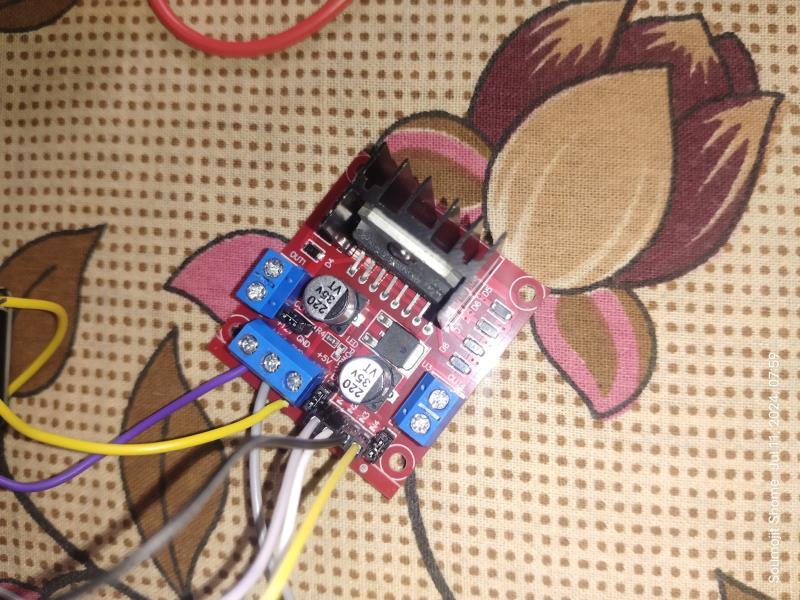
L298N Motor Driver
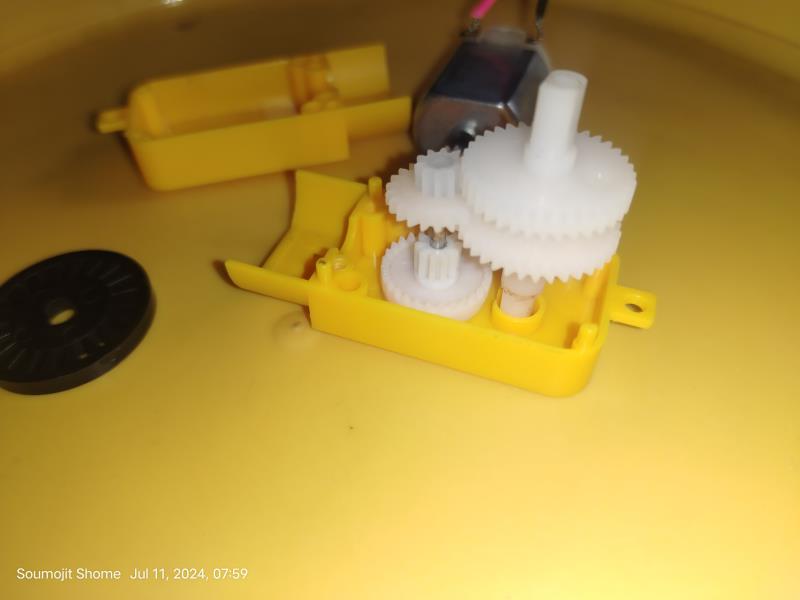
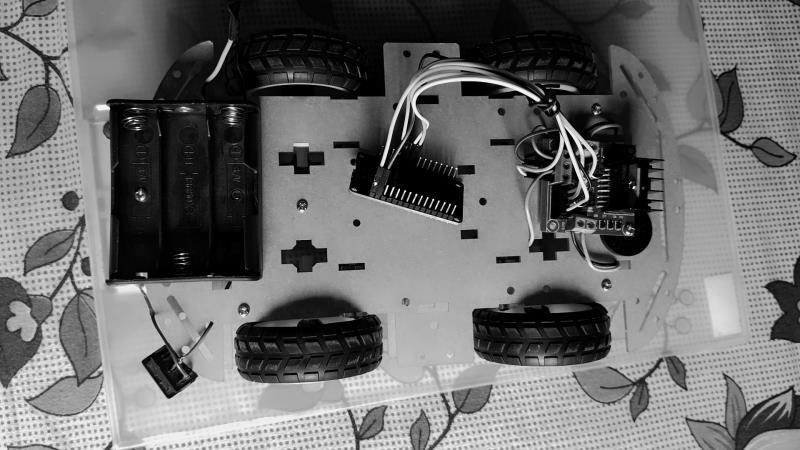
Motor Interior View
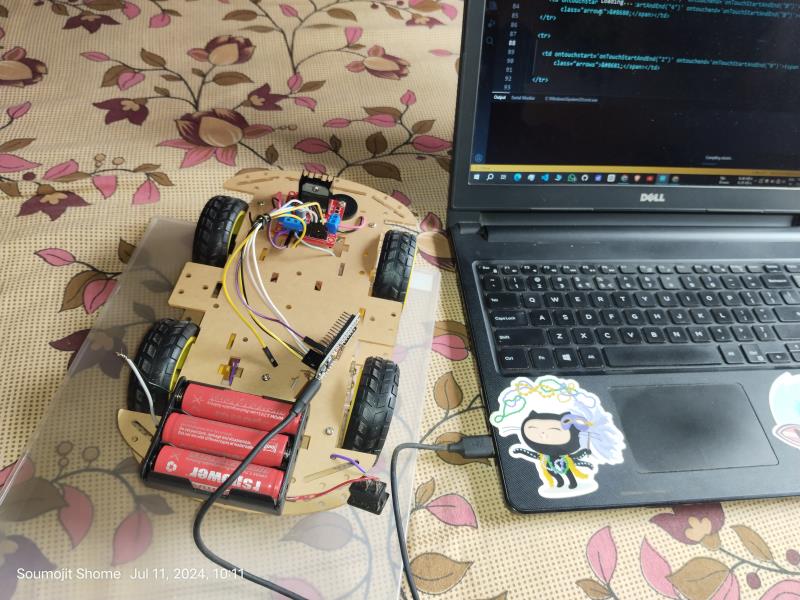
Programming the ESP32
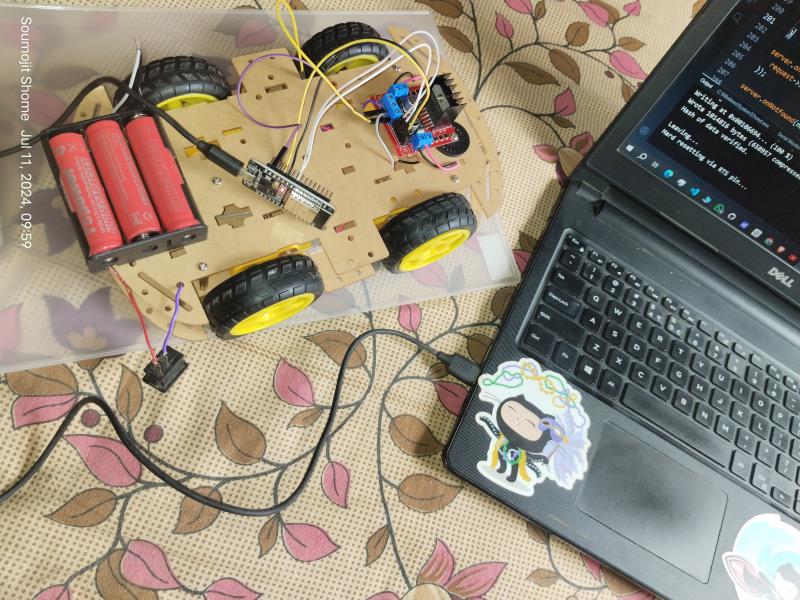
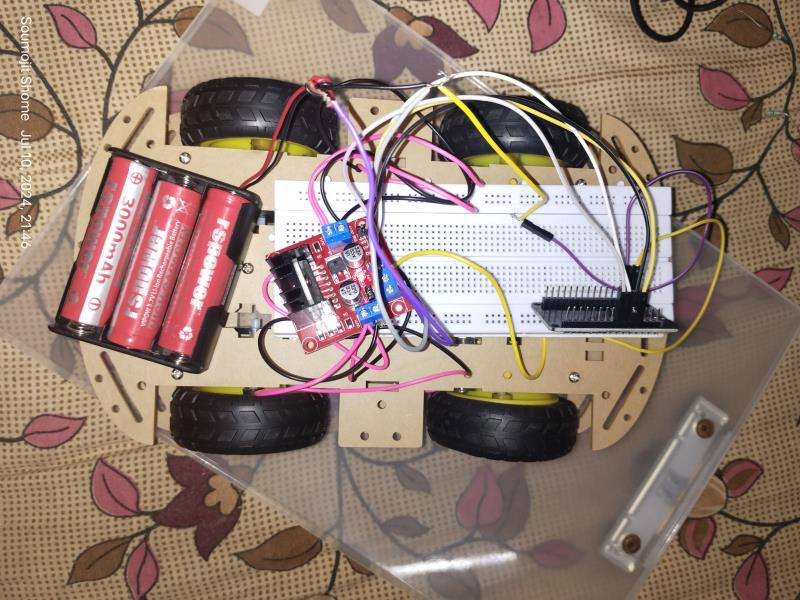
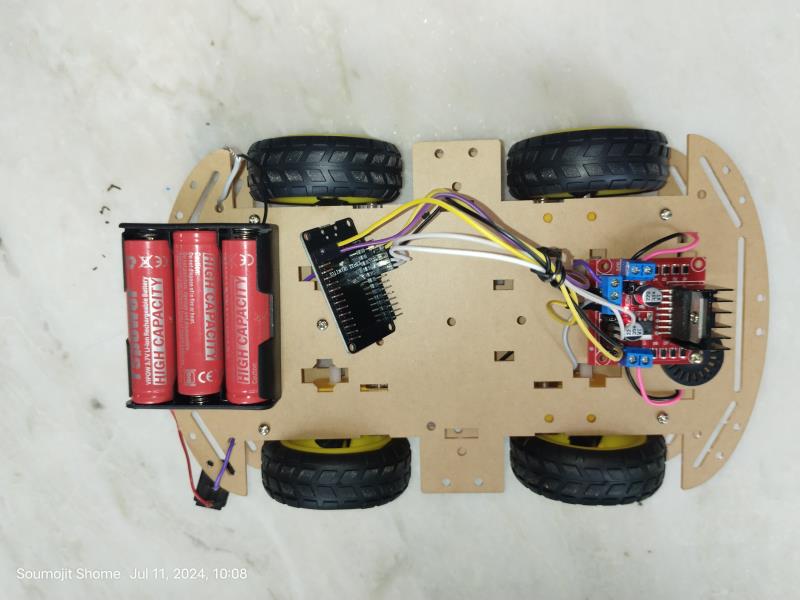
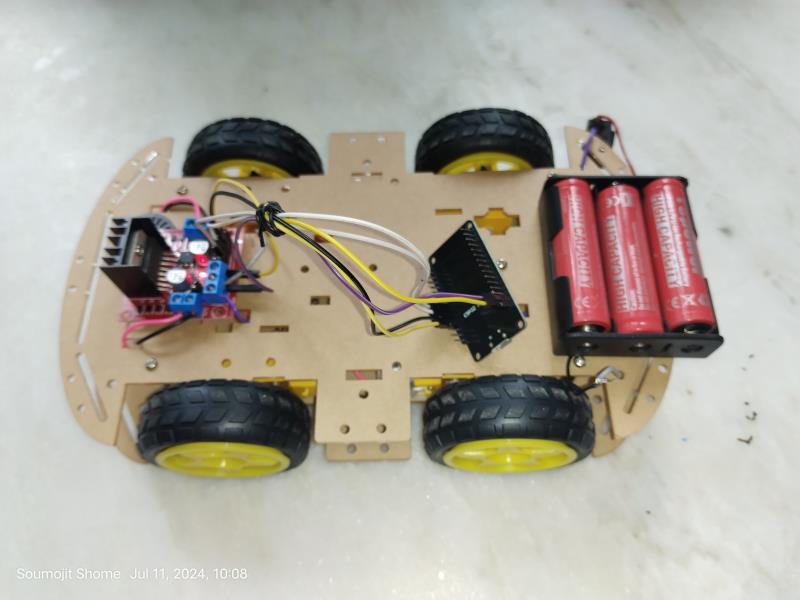
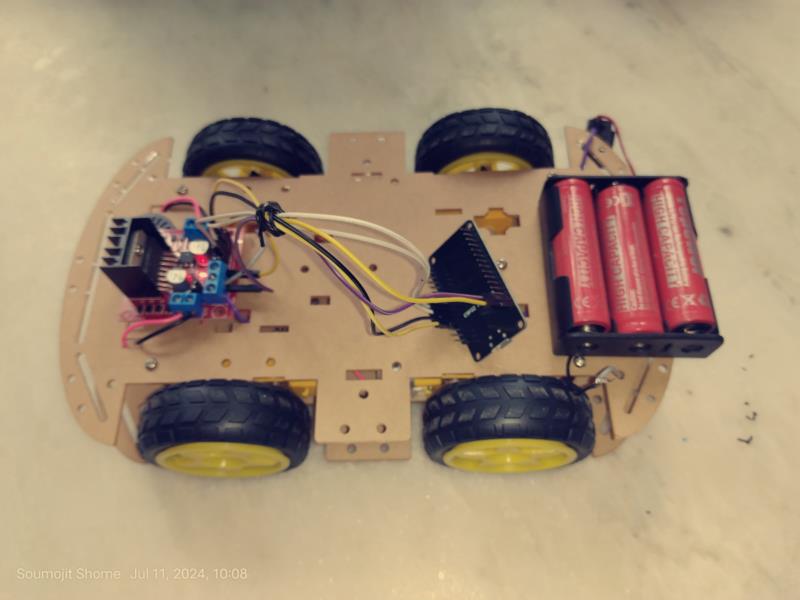
Complete Structure
Control Page
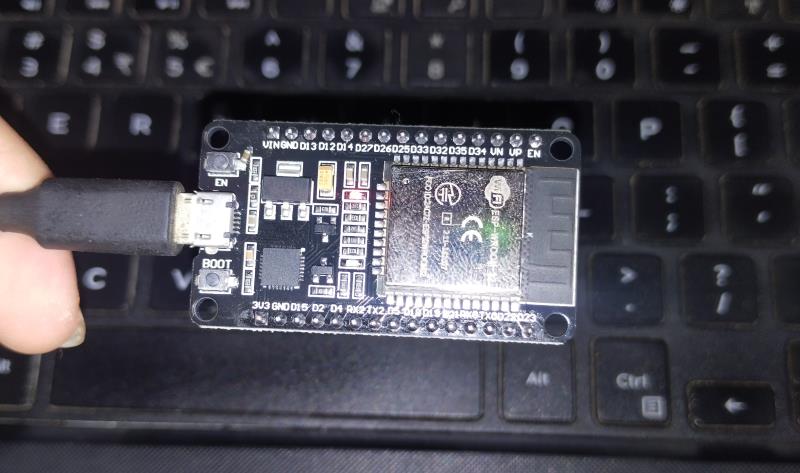
ESP32 Board
Video
#IoT #EmbeddedSystems #ESP32 #WebSocket #Arduino #TechProjects #Innovation #LearningByDoing